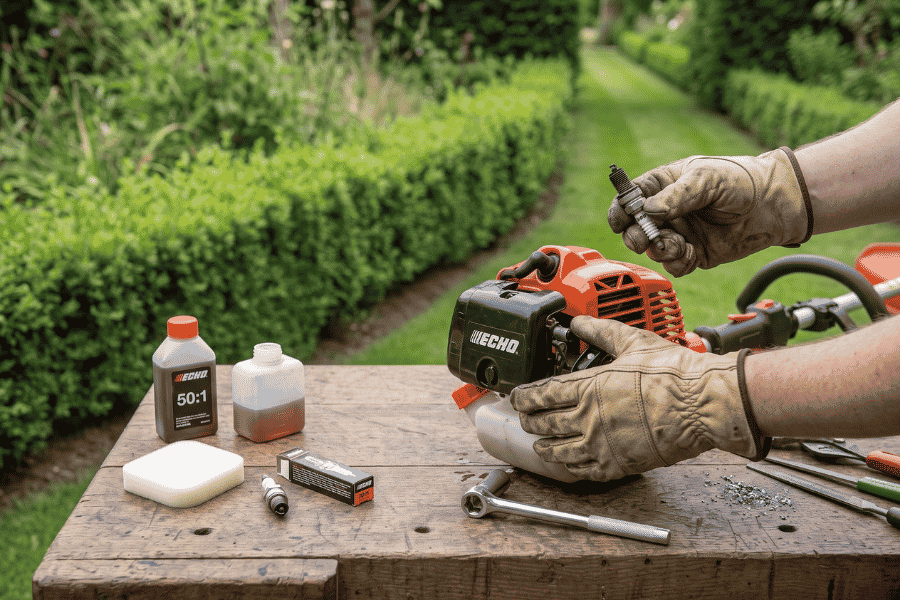
There’s a unique satisfaction in seeing your mower leave behind crisp, clean stripes on a well-tended British lawn. But achieving that perfect finish relies on one often-overlooked detail: razor-sharp mower blades. Dull blades don’t cut grass; they tear and shred it, leaving ragged, frayed ends that turn an unsightly brown. This isn’t just about looks; it weakens your lawn, making it far more vulnerable to disease, drought stress, and moss invasion.
Many gardeners diligently mow week after week, unaware that their blunt blades are silently sabotaging their efforts. That lingering brown tinge after cutting, the increased effort required to push the mower, or the ragged appearance of individual grass blades are tell-tale signs. Neglecting this simple maintenance task means your lawn never truly thrives, no matter how often you water or feed it.
Sharpening your mower blades is a fundamental act of lawn care, not an optional extra. It’s a relatively straightforward DIY task that pays dividends in a healthier, more resilient, and visually stunning lawn. Let’s walk through why it matters, how to spot when it’s needed, and the safe, effective way to get your blades slicing cleanly again.
Why Sharp Blades Are Non-Negotiable for Lawn Health
The difference between a sharp cut and a ragged tear is profound for your grass. A clean, sharp blade slices through the grass blade cleanly, minimising damage to the plant tissue. This clean cut heals quickly, reducing stress and water loss. The grass retains its vibrant green colour and can channel energy into strong root growth and thickening up.
Conversely, a dull blade acts like a blunt instrument, crushing and tearing the grass before finally ripping it apart. This creates ragged, open wounds that lose moisture rapidly and take much longer to heal. These frayed ends turn brown almost immediately, giving your lawn that characteristic “scalped” or unhealthy look, even if you haven’t cut it too short. Crucially, these open wounds are prime entry points for fungal diseases like red thread or fusarium, which thrive in the UK’s often damp conditions. A torn blade also loses more moisture, making the lawn more susceptible to drought stress during dry spells.
Beyond lawn health, sharp blades make mowing easier and more efficient. A sharp blade requires less power from the mower’s engine or motor, leading to smoother operation, reduced fuel consumption (for petrol mowers), and less strain on the machine. You’ll also notice the mower discharges clippings more cleanly, reducing clumping under the deck. Ultimately, sharpening prolongs the life of your blades and your mower.
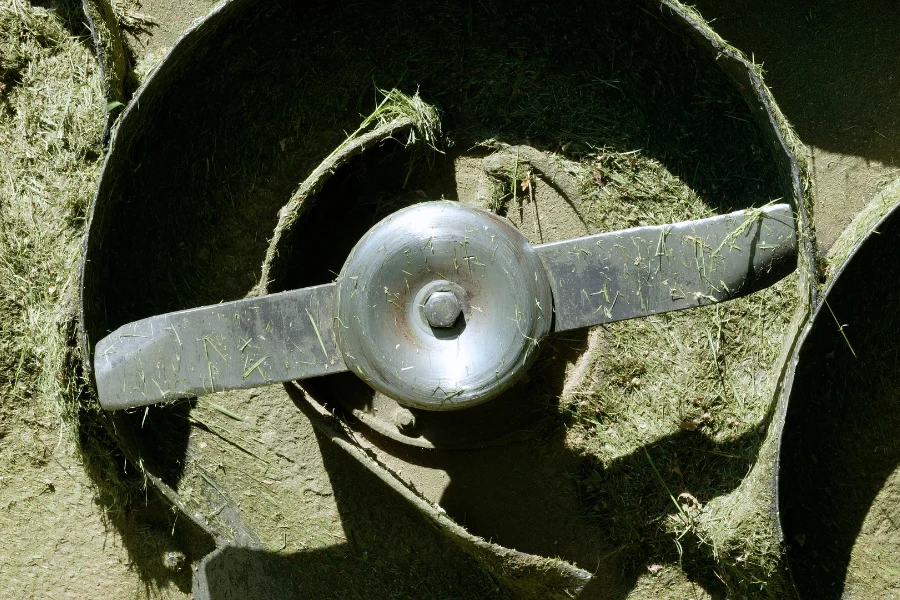
Recognising the Signs Your Blades Need Attention
Don’t wait until your lawn looks like it’s been attacked with a strimmer. Watch out for these clear indicators that your mower blades need sharpening:
Brown or White Tips: The most obvious sign. Shortly after mowing, the tips of the grass blades appear frayed, torn, and turn brown or whitish instead of a clean green.
Ragged Grass Appearance: Inspect individual grass blades. If the ends look shredded, torn, or split rather than cleanly sliced, the blades are dull.
Uneven or Ragged Cut: The overall lawn surface looks uneven, ragged, or “tatty” after mowing, lacking the clean, sharp definition of a healthy cut.
Increased Effort & Poor Performance: The mower seems harder to push (even if self-propelled), the engine labours or sounds strained, or the mower leaves uncut stalks or fails to cut cleanly, especially in damp grass.
Excessive Clumping: Dull blades struggle to chop clippings finely, leading to larger clumps being left on the lawn, which can smother the grass underneath.
Visible Damage: Nicks, dents, or bends in the blade edge from hitting stones, roots, or debris will significantly impair cutting performance and need addressing.
Essential Safety First: Preparing for the Task
Sharpening mower blades involves working with sharp metal and potentially hazardous equipment. Safety is paramount:
Disconnect Power: This is really important.
Petrol Mowers: Disconnect the spark plug lead and secure it away from the plug.
Electric Mowers (Corded): Unplug from the mains.
Electric Mowers (Cordless): Remove the battery.
Drain Fuel (Petrol Mowers Optional but Recommended): If tipping the mower, drain the petrol tank first to prevent leaks and fire risk. Alternatively, ensure the fuel cap is tightly sealed and position the mower so the carburettor side stays uppermost when tilted.
Wear Protective Gear: Always wear thick, cut-resistant gloves and safety goggles. Consider ear protection if using power tools like a bench grinder.
Secure the Mower: Ensure the mower is stable and cannot roll or move. Engage the parking brake if fitted. Place it on a flat, stable surface. You may need to carefully tip the mower onto its side (usually with the air filter and carburettor facing upwards for petrol engines) or secure it upright if removing the deck.
Mark the Blade: Before removing the blade, use a paint marker or scratch a small mark on one end of the blade facing upwards (towards the mower deck). This ensures you reinstall it with the correct orientation – the aerodynamic wing shape is crucial for proper lift and cutting.
Removing the Blade Safely
Block the Blade: Insert a sturdy block of wood (like a chock) between the blade and the mower deck to prevent the blade from spinning while you loosen the bolt. Never hold the blade with your hand.
Loosen the Retaining Nut/Bolt: Using the correct size spanner or socket wrench (often a large size like 15mm or 1/2″), loosen the central retaining nut or bolt. Remember, most standard UK mower blades have a reverse thread (turn clockwise to loosen, anti-clockwise to tighten – but always check your manual, as some are standard thread). Apply penetrating oil if it’s stubborn. Use a breaker bar if necessary, ensuring the blade is securely blocked.
Remove the Blade: Once loose, carefully remove the nut, any washers, and the blade itself. Note the order of any washers for reassembly.
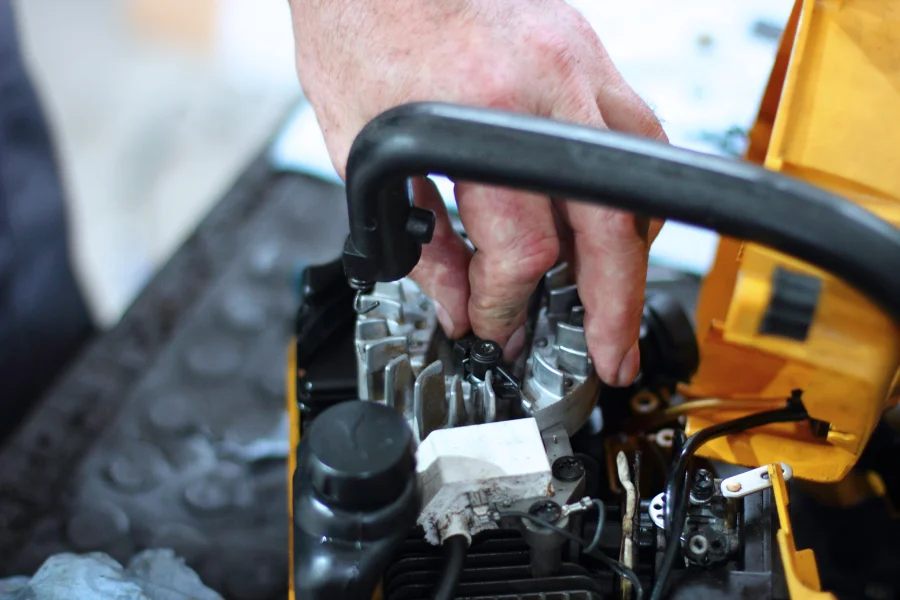
Sharpening Methods: File vs. Grinder
Method 1: Using a Hand File (Safest & Most Accessible)
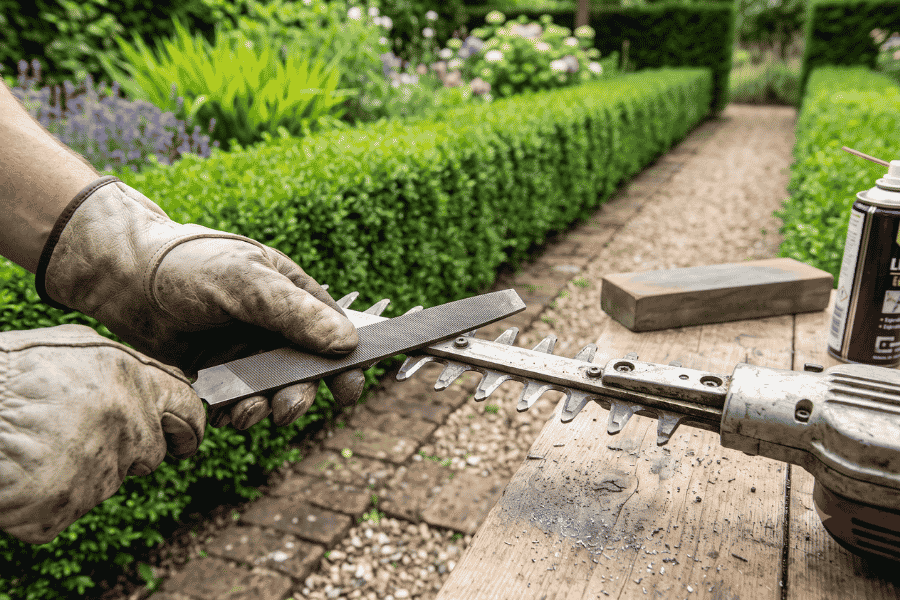
Secure the Blade: Clamp the blade firmly in a bench vice, ensuring the cutting edge is accessible. Protect the blade’s metal with cloth or cardboard in the vice jaws if needed.
Identify the Cutting Edge & Angle: Examine the blade. Only sharpen the cutting edge (the bevelled side leading into the blade tip). Maintain the original bevel angle (typically around 30-45 degrees). Do not sharpen the flat top side or try to change the angle significantly.
Filing Technique: Using a high-quality flat mill file (e.g., a medium 10-12″ second cut file), push the file away from your body along the cutting edge, following the existing angle. Use smooth, consistent strokes, applying pressure on the push stroke only. Lift the file off the metal on the return stroke. Work from the centre outwards towards the tip on each side.
Sharpen Evenly: Work methodically, making the same number of strokes on each side of the blade to maintain balance. Focus on removing nicks and restoring a sharp edge, not removing excessive metal.
Deburr (Optional): After filing, lightly run a fine sharpening stone or the edge of the file along the back (flat top side) of the cutting edge to remove any small burr created during filing.
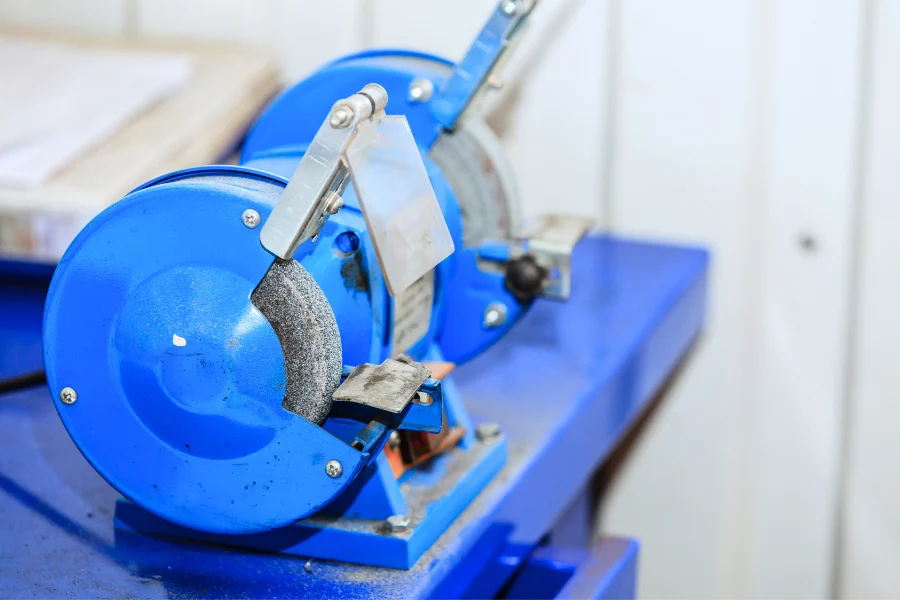
Method 2: Using a Bench Grinder (Faster, Requires More Skill/Caution)
Safety First: Wear full-face protection or a face shield in addition to safety goggles. Ensure the grinder guard is correctly positioned. Use a tool rest if available.
Secure the Blade: Hold the blade firmly with both hands. Never hold it with a cloth that could catch.
Grinding Technique: Touch the blade’s cutting edge lightly to the grinding wheel at the original bevel angle. Move the blade steadily across the wheel face, applying minimal pressure. Do not let the blade overheat – dip it frequently in a bucket of water to cool it. Overheating (bluing the metal) ruins the temper, making the blade brittle and prone to shattering.
Sharpen Evenly & Minimise Metal Removal: Grind each side equally for only a few seconds at a time. The goal is to restore the sharp edge, not reshape the blade or remove large amounts of metal. Avoid changing the original angle.
Deburr: As with filing, lightly remove any burr from the back edge using the grinder lightly or a file/stone.
The Critical Step: Balancing the Blade
An unbalanced blade causes excessive vibration, damaging your mower’s engine bearings and spindle, leading to premature wear and a rough, noisy cut. Balancing is essential after sharpening.
Get a Blade Balancer: A simple cone or pin balancer costs only a few pounds from hardware stores (B&Q, Screwfix) or online.
Hang the Blade: Place the blade horizontally onto the balancer’s pin or cone through the centre hole.
Observe: The blade should sit perfectly level. If one end dips downwards, that side is heavier.
Correct Imbalance: If unbalanced, carefully file a small amount of metal from the back (flat, non-bevelled side) of the heavier end’s trailing edge (the end opposite the cutting tip). Recheck frequently. Remove metal slowly and sparingly. Never file the cutting edge to balance.
Reinstalling the Blade Correctly
Clean the Mounting Area: Wipe away any grass clippings or debris from the spindle and mounting area on the mower deck.
Replace Washers/Nut: Slide the blade back onto the spindle, ensuring it sits flush and any locating pins engage. Replace any washers in their original order.
Thread Direction: Remember the likely reverse thread! Turn the nut/bolt anti-clockwise to tighten securely (unless your manual specifies otherwise). Refer to the mark you made earlier to ensure the blade is installed with the correct cutting edge orientation (wing facing upwards).
Tighten Securely: Tighten the nut/bolt very firmly using the correct spanner/socket and potentially a breaker bar. Ensure the blade is securely blocked from turning while you tighten.
Reconnect Power: Reconnect the spark plug lead (petrol), plug (corded), or battery (cordless).
Final Thoughts: A Sharper Cut for a Healthier Lawn
Sharpening your lawn mower blades is one of the most impactful yet simplest maintenance tasks you can perform for your garden. It transforms the mowing experience, reduces wear on your machine, and, most importantly, promotes a thick, healthy, disease-resistant, and beautifully green lawn.
Investing a small amount of time and care into this essential job pays off dramatically. Ditch the ragged brown tips and the struggling mower engine. Grab your gloves, safety glasses, a file, and a balancer, and give your lawn the clean, sharp cut it deserves. Your grass will thank you for it with lush, vibrant growth, making all your gardening efforts shine.