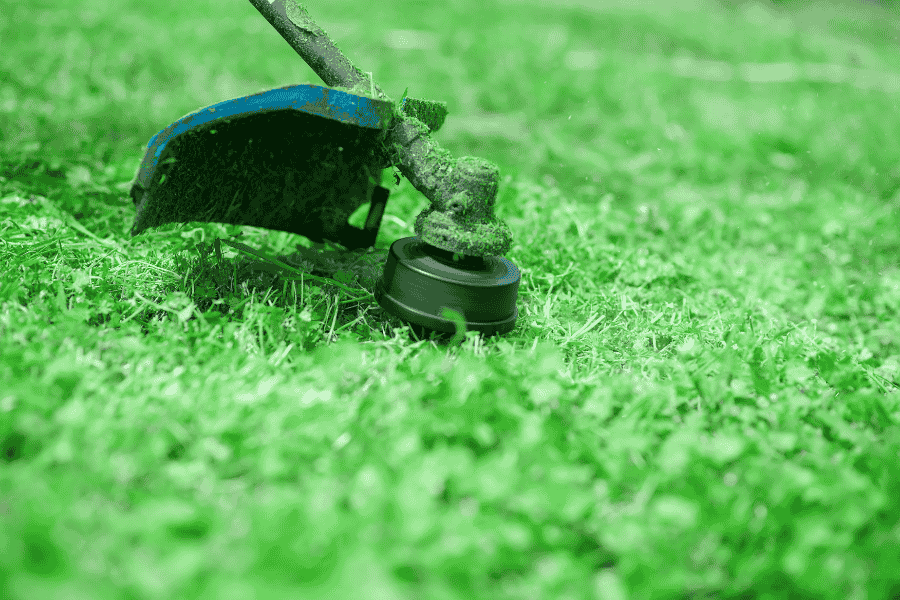
We’ve all been there. You’re tackling the unruly edges of the lawn, the strimmer is buzzing along nicely, and then – ping. The cord snaps, disappears, or wears down to nothing. Suddenly, the job stalls, and frustration sets in. Whether you’re a seasoned gardener or a weekend warrior, knowing how to replace strimmer wire is one of those essential bits of garden know-how that saves time, effort, and a lot of irritation.
At first glance, it can seem like a fiddly task. Different models have their quirks, and tangled cord is no one’s idea of fun. But once you get the hang of it, replacing the wire is surprisingly simple and genuinely satisfying. A few minutes of setup gets your machine back in top form—and makes all the difference in how smoothly and safely it runs.
In this guide, we’ll take you through everything you need to know to replace your strimmer wire with confidence. From getting the length right to troubleshooting common issues, we’ll make sure you spend less time wrestling with tools and more time enjoying a neatly trimmed garden.
Why Replacing Your Wire Properly Matters
It’s tempting to just keep going until the last millimetre of cord is gone, or to wind on a new length in a hurry. Doing it properly, however, makes a huge difference beyond just getting the job finished.
Safety should always be your top priority. Incorrectly wound or damaged cord can snap unexpectedly and fly off, or cause the strimmer head to vibrate excessively, potentially leading to loss of control. Getting the replacement right significantly reduces these risks. You’ll also get much better cutting performance. Fresh, correctly fitted cord slices through grass and weeds cleanly and efficiently.
Worn or tangled cord makes the strimmer work harder, leading to ragged cuts, damaged plants, and frustration. Taking the time to replace it properly saves you time and annoyance later – no more constant stops for tangles, jams, or breaks. Finally, it protects your machine. Jams and tangles put unnecessary strain on the strimmer’s motor and drive mechanism. Smooth feeding cord keeps everything running sweetly and extends its life.
The Sweet Spot: Getting the Wire Length Right
One of the keys to success, and avoiding immediate tangles, is cutting your new cord to the right length before winding it on. Get this wrong, and you’ll likely be restarting the process sooner than you’d like.
Your strimmer’s manual is always the best starting point. It will specify the exact recommended length for its specific head design, so keep it handy if you can. If the manual has vanished into the garden shed abyss, a good general rule of thumb is to measure twice the diameter of your strimmer’s spool.
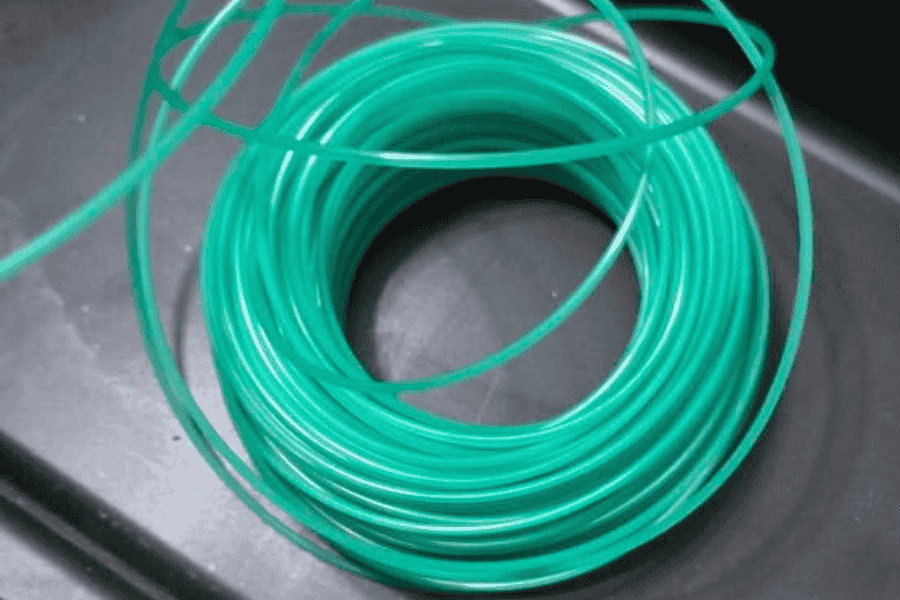
Lay the cord across the spool’s width, then double that measurement. For most domestic strimmers, this usually lands between 3 to 5 metres per piece of cord (as most heads take two lengths). Crucially, always use the cord thickness (diameter) recommended for your strimmer – common sizes are 1.6mm, 2.0mm, and 2.4mm. Using cord that’s too thick can overload the motor, while cord that’s too thin will snap constantly. Check the old spool packaging or your manual for the right spec.
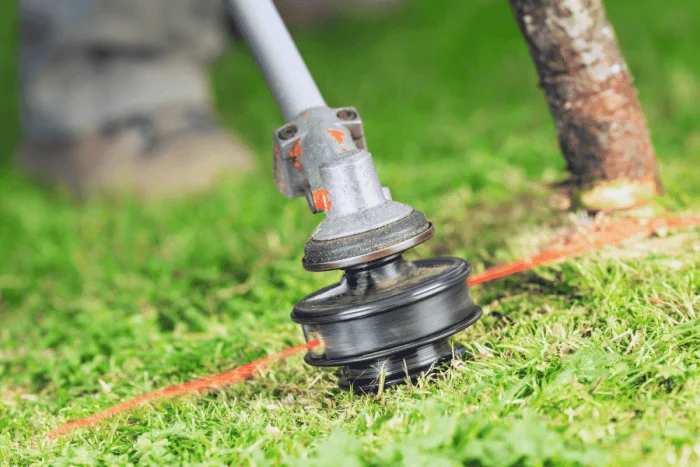
Step-by-Step: Replacing Your Strimmer Wire
While strimmer heads vary (mainly bump feed vs. fixed line), the core process is similar. Always disconnect the spark plug (petrol) or remove the battery (cordless) before starting for safety.
Removing the Old Spool and Line
First, you need access to the spool inside the head. Usually, this involves pressing in tabs on the sides of the head or unscrewing a retaining knob or cover on the bottom. Once the cover is off, carefully lift out the empty spool. Take a moment to clear out any old bits of tangled cord or debris from the spool housing. If the spool has separate inner and outer parts, note how they fit together for reassembly.
Preparing and Winding the New Line
Cut two lengths of your new cord to the correct size. Find the central anchor point on the spool – often a small hole or slot. Insert one end of the first cord piece securely into this anchor. Now, wind the cord neatly and tightly onto the spool in the direction indicated by the arrow moulded onto the spool. This direction is critical for correct feeding.
Wind it evenly, keeping the coils tight and side-by-side without overlapping or crossing. Leave about 10-15cm of cord unwound at the end. Repeat this process for the second piece of cord on the other half of the spool, winding in the same direction. Ensure both loose ends are opposite each other.
Fitting the Spool and Threading the Ends
Carefully place the fully wound spool back into the strimmer head housing, ensuring it sits correctly and any locking tabs engage. Take the two loose ends of cord and thread each one out through their respective exit holes on the side of the head. You should have two equal lengths of cord protruding.
If your head has guide slots or channels near the exit holes, make sure the cords sit neatly in these. Replace the head cover securely, ensuring it clicks or screws back into place properly. Gently pull on both cords to release them from any temporary spool holders and ensure they feed freely.

Troubleshooting Tangles and Jams
Even with careful winding, tangles can happen. Don’t worry, it’s usually fixable. If the cord refuses to feed out when you bump the head, the most common culprit is incorrect winding direction. The arrow on the spool is your friend – wind against this arrow. Winding the wrong way prevents the bump mechanism from releasing line. Overfilling the spool is another frequent cause.
If you’ve wound on too much cord, it becomes compressed and jams. Remove the spool and take off a few metres, rewinding neatly. Also, check that the cords aren’t crossed over each other inside the spool housing or caught under the spool edge when you reassembled. If the cord snaps instantly, double-check you’re using the correct thickness for your machine. Thinner cord just can’t handle the strain of tougher jobs. Finally, ensure the exit holes and guides are clean and free of debris or melted plastic from previous use.
Keeping Your Strimmer Cutting Smoothly
Replacing the cord is one thing, but a little routine care keeps everything running optimally. Always carry a spare spool or reel of the correct cord in your gardening kit – running out halfway through a job is frustrating. Before each use, quickly check the cord length.
Top it up by gently pulling out more line if needed (on bump feed models) before it wears down too short. After use, especially if the cord is wet or muddy, give the head a quick clean to prevent grime build up that can impede feeding. When storing your strimmer for longer periods, it’s a good idea to remove any remaining cord from the head to prevent it becoming brittle or deformed.
Conclusion
Replacing strimmer wire might feel like a minor chore, but mastering it transforms your gardening experience. No more wrestling with a jammed head or abandoning the edges because your cord vanished. With the right length, the correct winding direction, and a bit of practice, you can swap it out in minutes. It makes the job safer, protects your machine, and gives you that satisfying, clean cut every time. So next time you hear that ping, don’t sigh – just grab your cord and get winding. Your neat lawn edges will thank you for it!